LitVM's testnet, LiteForge, is live — and this guide will walk you through everything you need to know to get connected, grab your first zkLTC, and start exploring Litecoin's first EVM rollup.
Whether you're a curious community member, an experienced DeFi user, or a developer ready to build, getting started takes just a few minutes.
Before we dive in — we recommend following along on desktop for the smoothest experience. While you can access LiteForge on mobile, desktop will make the process a lot easier, especially when it comes to setting up your wallet and connecting to the network.
{{separator}}
Step 1: Visit the LitVM Testnet Hub
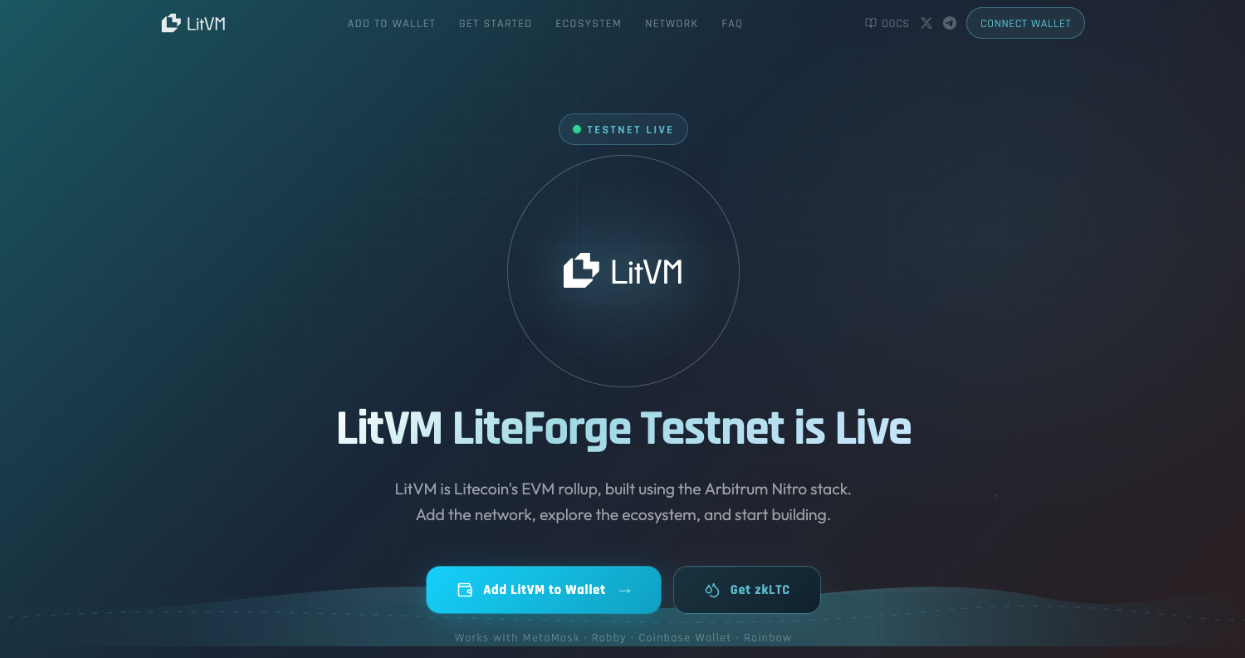
Head to testnet.litvm.com — this is your home base for everything related to the LiteForge testnet. From here you can connect your wallet, access the faucet, and explore the ecosystem of apps live on the network.
{{separator}}
Step 2: Set Up an EVM Wallet
Since LitVM is an EVM rollup, you'll need an EVM-compatible wallet to interact with the network.
If you already have one — MetaMask, Rabby, Coinbase Wallet, or any other EVM wallet — you're good to go.
If not, here are some popular options to get started:
- MetaMask — the most widely used EVM wallet, available as a browser extension and mobile app
- Rabby — a popular alternative with a clean interface and strong security features
- Coinbase Wallet — a great option for beginners, available on mobile and as a browser extension
Download and set up your preferred wallet, then come back to the Testnet Hub to continue.
{{separator}}
Step 3: Add the LitVM Testnet to Your Wallet
On the Testnet Hub page, click 'Connect Wallet' or 'Add LitVM to Wallet'. This will automatically add the LiteForge testnet network to your wallet — no manual configuration needed.

Once added, make sure your wallet is set to the LiteForge network before proceeding.

{{separator}}
Step 4: Get zkLTC for Gas Fees
The gas token on LitVM is zkLTC — LTC that has been trustlessly bridged from the Litecoin mainchain to LitVM via BitcoinOS' Grail Bridge. Every transaction on LitVM — whether you're sending tokens, interacting with an app, or deploying a contract — requires a small amount of zkLTC to cover network fees.
Getting your first zkLTC on testnet is easy:
- On the Testnet Hub page, click 'Get zkLTC' or 'Faucet'
- You'll be taken to the LiteForge Caldera Hub page
- In the Faucet box, paste your EVM wallet address into the field labelled 'Recipient's Wallet Address'
- Click 'Request'

After a few moments, a small amount of zkLTC will appear in your wallet — enough to start paying gas fees right away. You can return to the faucet at any time if you need more.

{{separator}}
Step 5: Explore the Ecosystem
You're now ready to explore LitVM. Scroll down to the Ecosystem section on the Testnet Hub page to see a list of applications currently live on the network. Click on any app to visit its website and start interacting.

New apps will be added continuously as more builders deploy on LiteForge — so check back regularly as the ecosystem grows.
{{separator}}
For Developers
Ready to build? As a fully EVM-compatible chain, deploying contracts on LitVM is seamless for any developer already familiar with Ethereum tooling. Head to the LitVM Documentation to get started.
{{separator}}
You're In
That's all it takes. Welcome to LiteForge — the beginning of Hard Money Web3.
If you run into any issues or have questions, join the LitVM community and our team will be happy to help.
About LitVM
LitVM is Litecoin’s Virtual Machine, enabling smart contract capabilities and Web3 applications for Litecoin.
Officially endorsed by the Litecoin Foundation, LitVM is committed to fostering a 'hard money Web3’ ecosystem, including Litecoin yield opportunities, real-world assets, AI and more.